Zapier
Wiredash already supports many integrations like Email or Slack out-of-the-box. However, if you would like to connect Wiredash to any other 3rd party service of your choice, Zapier is a great option. On this page we will show you how to setup Zapier and connect it with Google Sheets.
Enable Zapier
Inside the Wiredash Console go to Settings > Integrations. Then click Enable Zapier. This will create a secret key for Zapier.
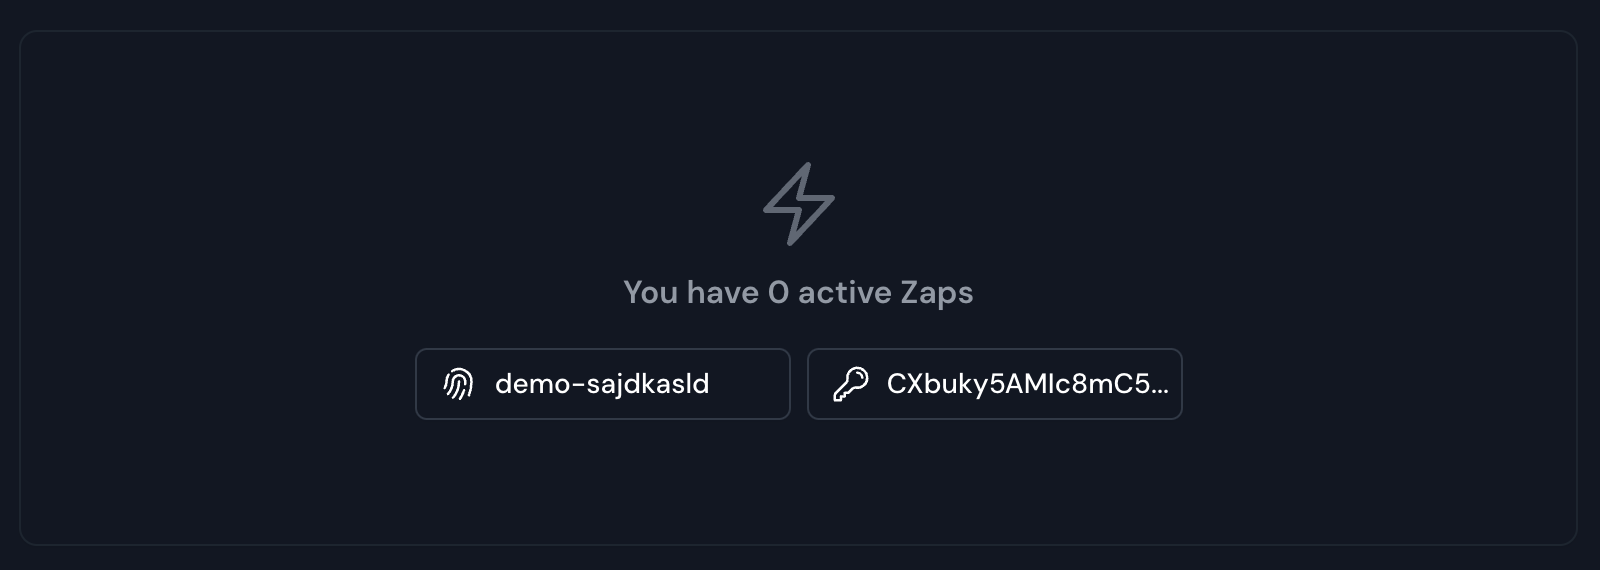
After clicking Enable Zapier you should now see a message which says that you currently have 0 active Zaps. Below it you can find two fields containing your project id and a secret Zapier API key. You can click both fields to copy their value.
INFO
You can always disable Zapier to revoke the secret API key. Re-enabling it will generate a new key.
Open a new tab inside your browser and navigate to https://zapier.com. Create a new free Zapier account or sign in with an existing one.
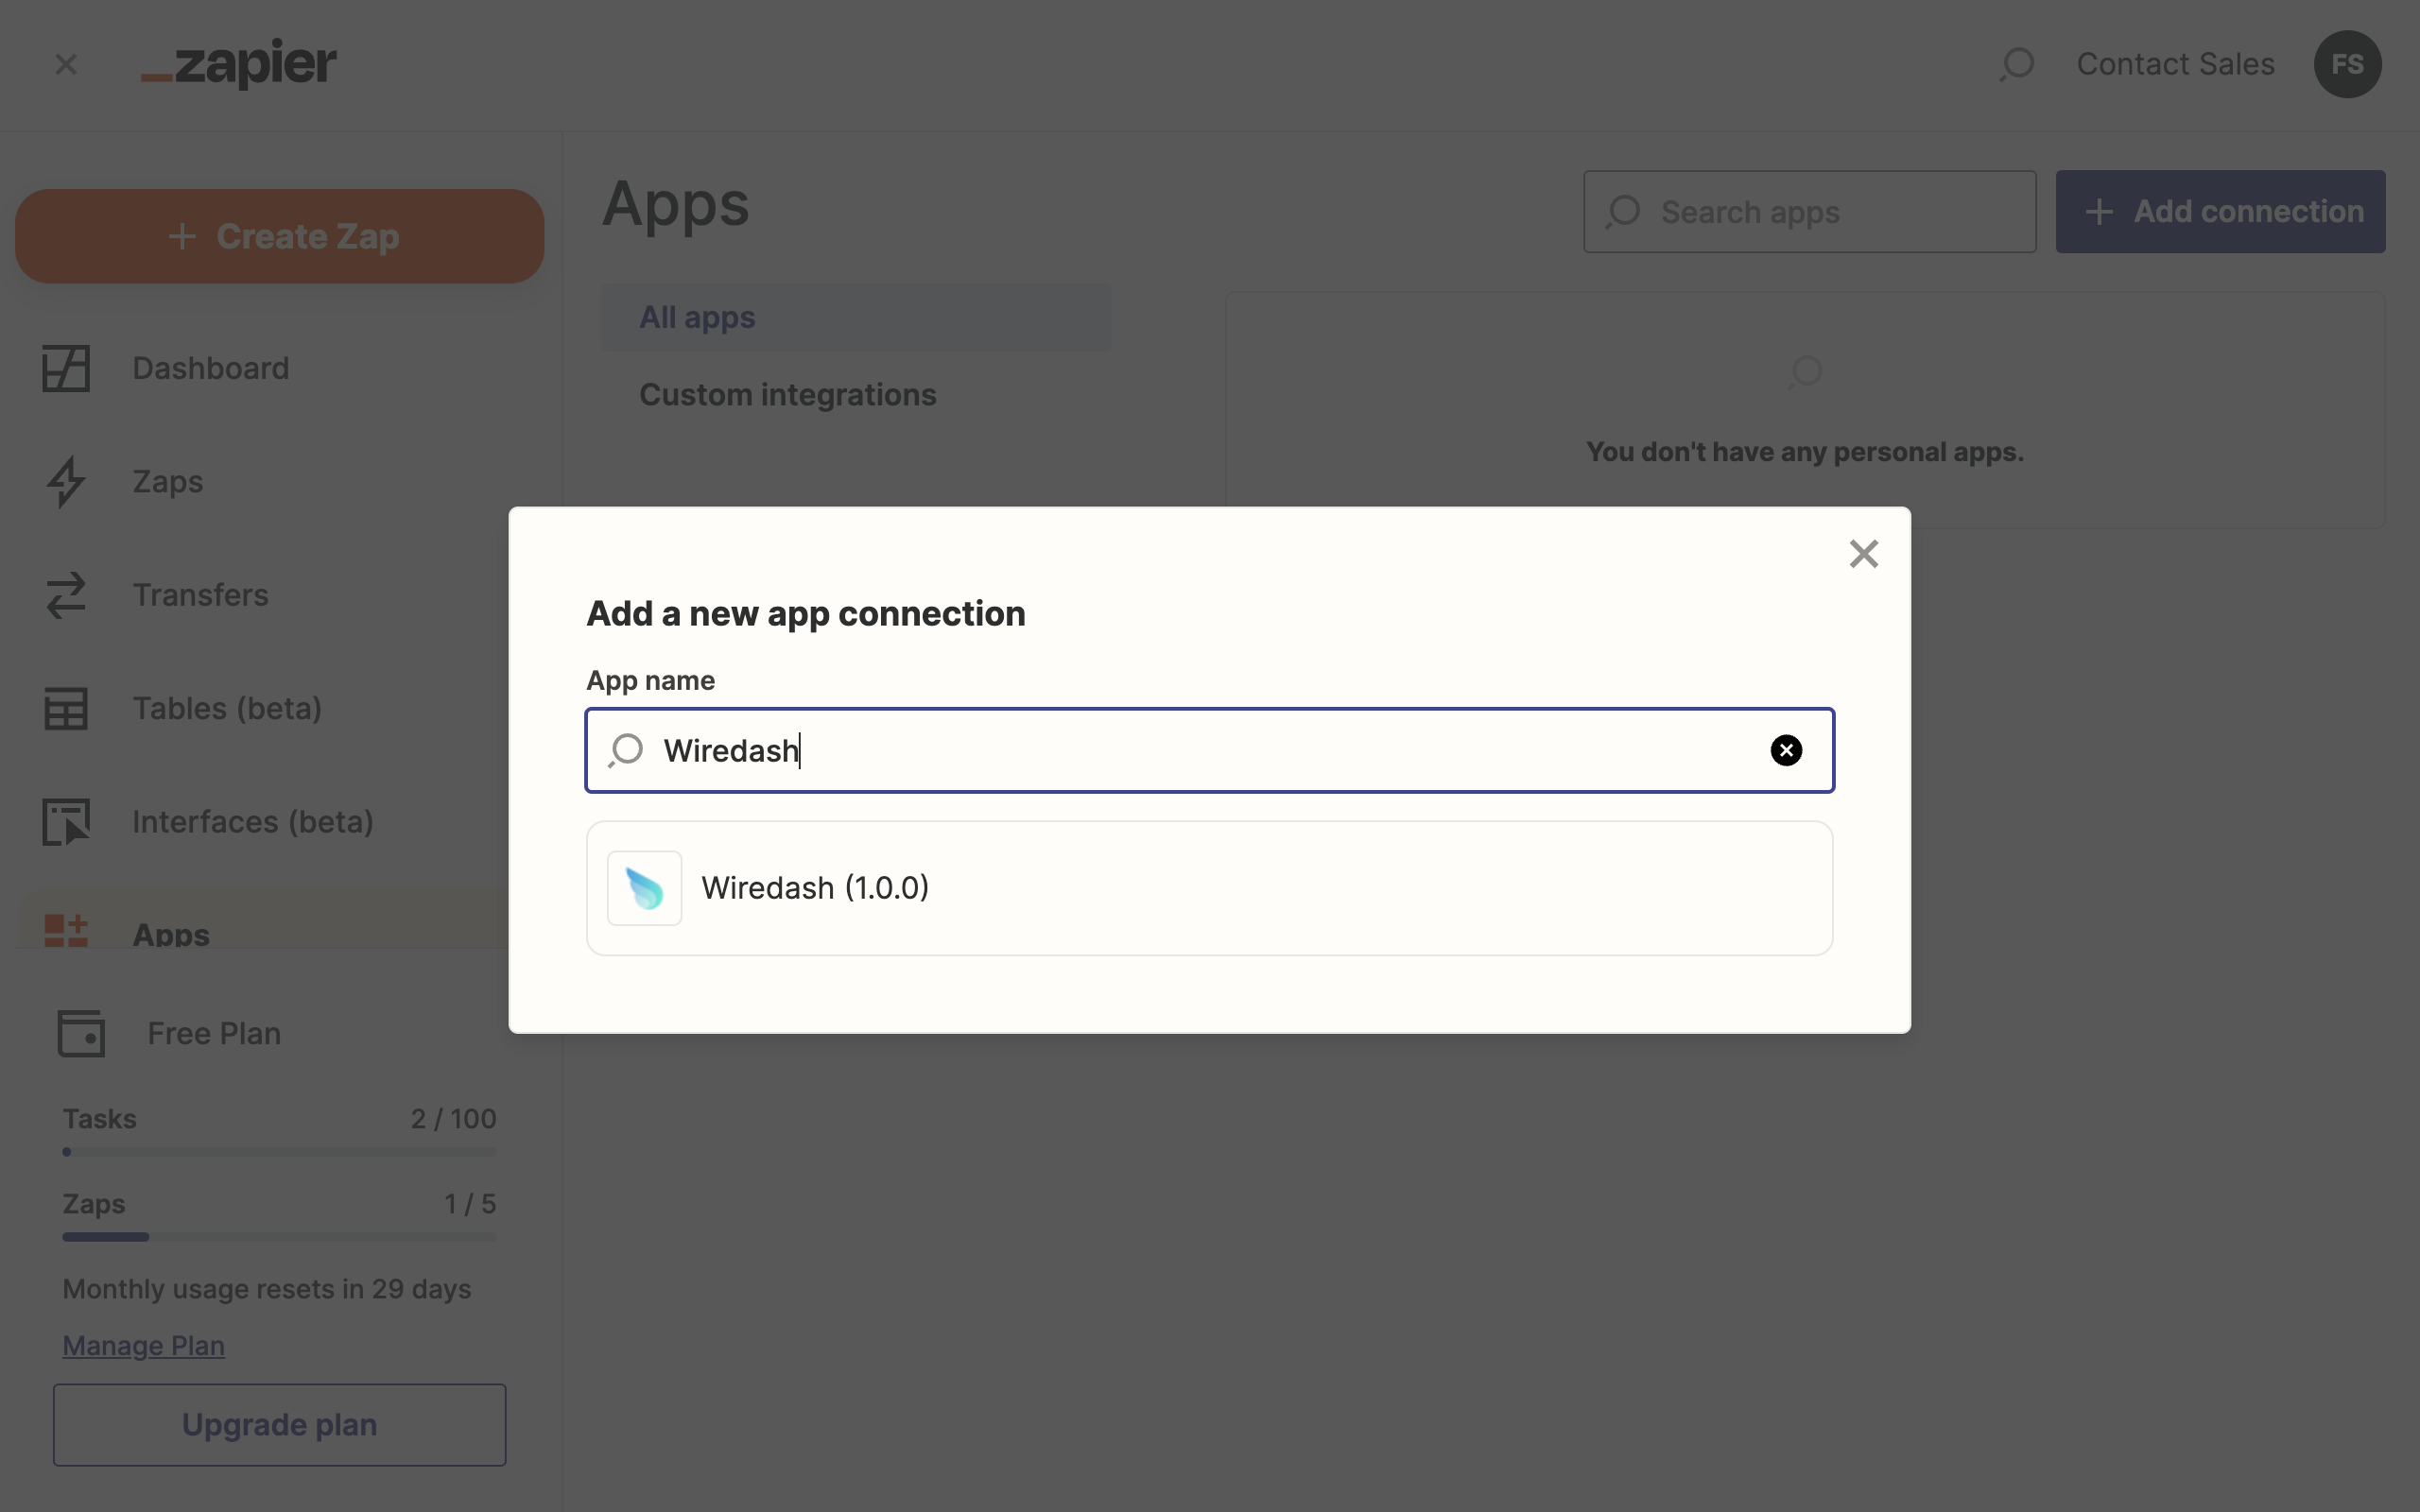
After successfully signing in go to https://zapier.com/app/connections and click + Add connection. Inside the dialog search for Wiredash and confirm your selection with a click.
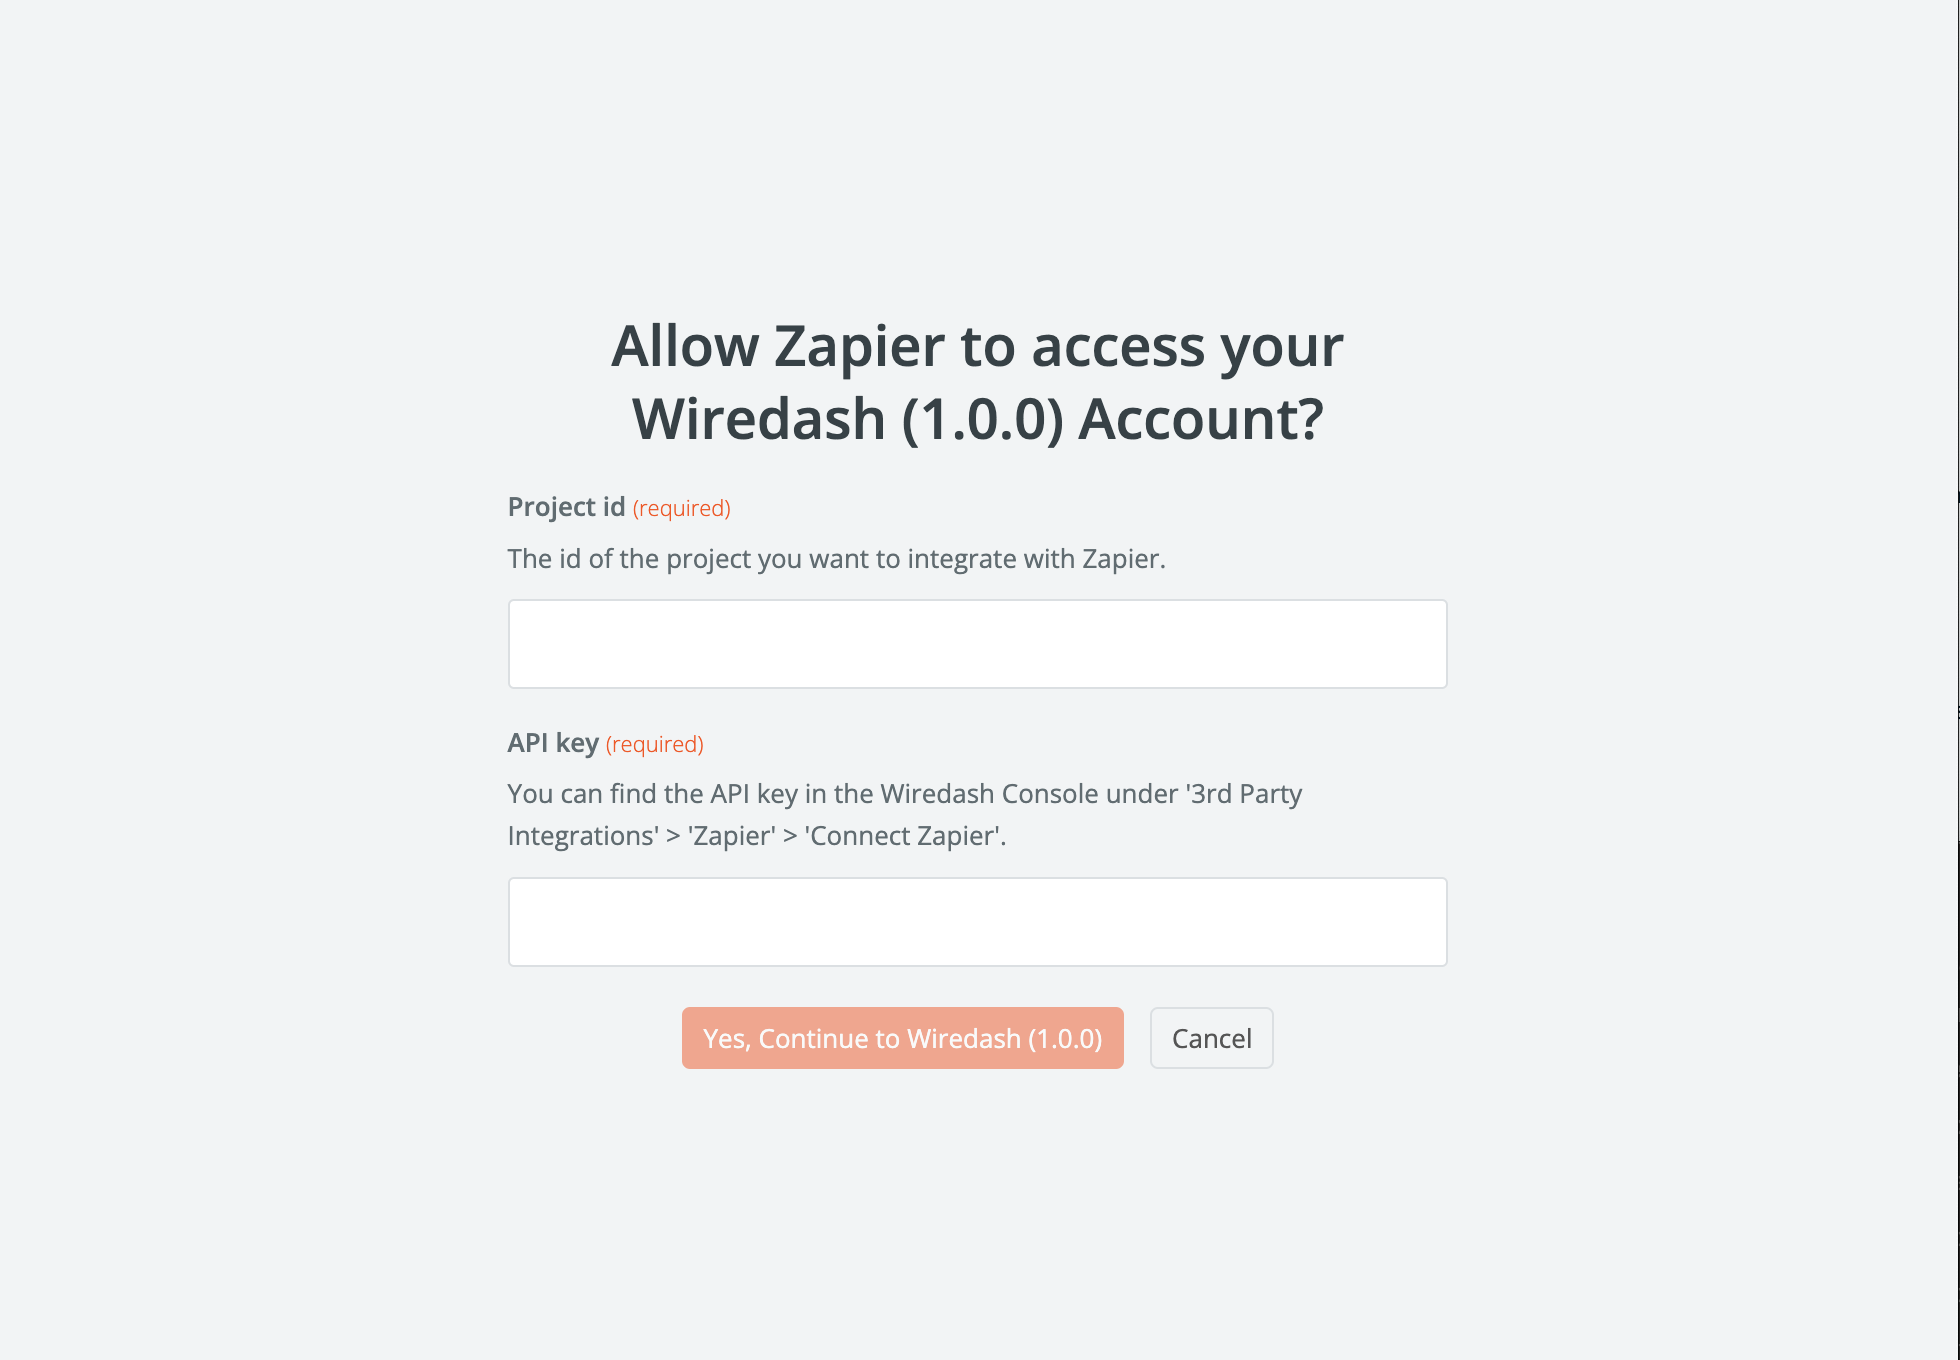
After clicking onto the list item a new dialog will pop up (make sure to deactivate any pop-up blockers if nothing happens). Inside this dialog you'll find two input fields, one for the Project id and one for the API key. Switch your browser tab back to the Wiredash Console and click the copy button inside the Zapier dialog to copy the project id. Paste it into the input field in the newly opened dialog. Do the same for the API key, then click Yes, Continue to Wiredash.
Zapier should now be connected to Wiredash. You can close the Zapier dialog inside the Wiredash Console now and start creating your first automation 🎉
INFO
You can connect multiple Wiredash projects with Zapier. They will automatically show up under your Wiredash project name.
Create a Zap
We're currently working on the docs, stay tuned for more...