3-Minute Setup
To get started, you will need to integrate the Wiredash SDK in your Flutter app. The setup is quick and only takes about three minutes to complete. Promised!
1. Create an account
Start by visiting the Wiredash Console: wiredash.com/console. Create your free account using Google, GitHub, or request an email sign-in link.
2. Create a project
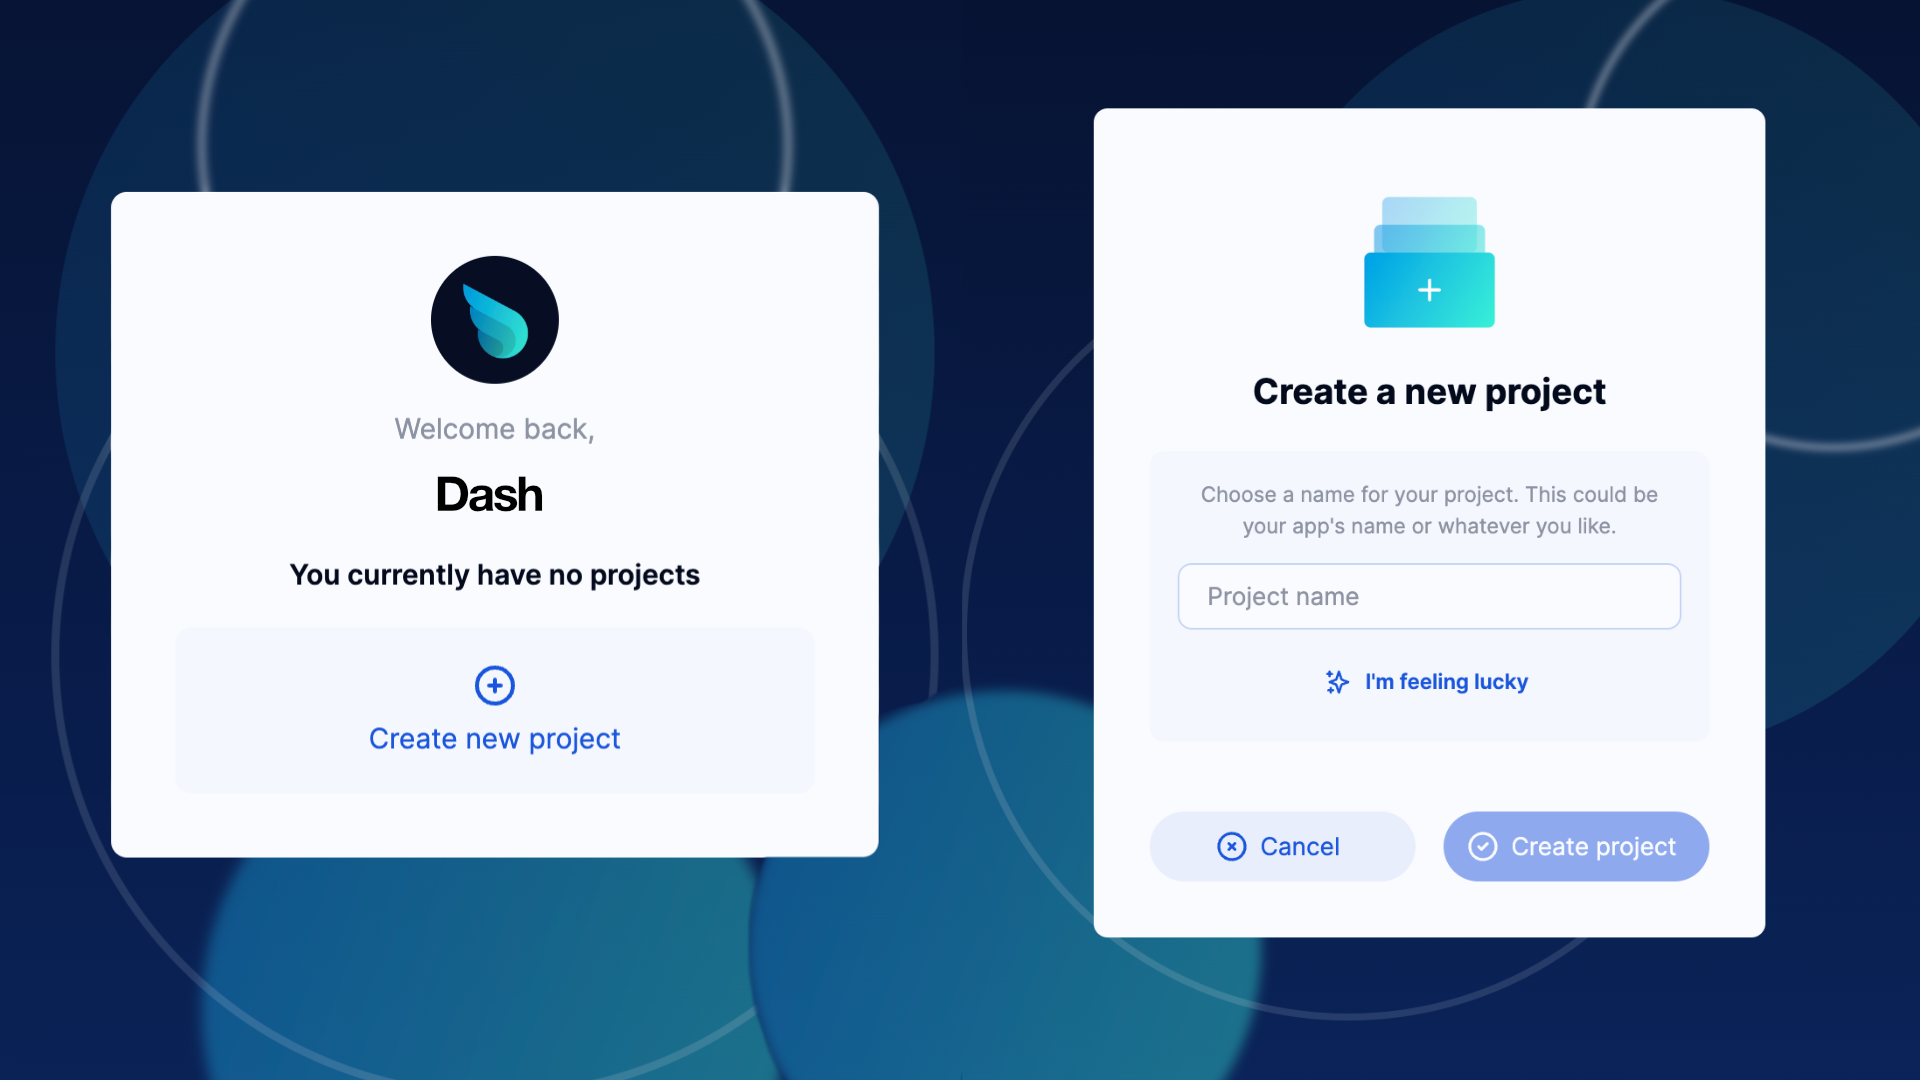
Now, let's set up your project! Click "Create new project" and give it a descriptive name that reflects your app. A Wiredash project is a container for all your different platform targets / apps (e.g. Android, iOS, Windows, macOS and Web). Those apps share features like analytics, feedbacks and surveys so can evaluate the data in a single place.
3. Add Wiredash to your Flutter project
Run the following command in your project root to automatically add the latest SDK version to your project.
flutter pub add wiredashHEADS UP
Please do not specify a version unless you know what you're doing. We always update Wiredash to be compatible with the newest Flutter features.
After running the command, you should see the added dependency in yout pubspec.yaml:
dependencies:
  flutter:
    sdk: flutter
  ...
  wiredash: ^2.0.0
INFO
We also offer beta releases that take advantage of the latest Flutter features. This might be useful if you're developing on the beta channel.
4. Integrate the SDK
Find your main.dart file – the heart of your app's initialization. Wrap the root widget of your existing app with Wiredash and make sure to fill in the projectId and SDK secret from the Wiredash Console. You find them under Your project > Settings > General Settings.
import 'package:flutter/material.dart';
import 'package:wiredash/wiredash.dart';

class MyApp extends StatelessWidget {
  @override
  Widget build(BuildContext context) {
    return Wiredash(
      projectId: 'YOUR-PROJECT-ID',
      secret: 'YOUR-SECRET',
      child: MaterialApp(
        // Your Flutter app is basically Wiredash's direct child.
        // This can be a MaterialApp, WidgetsApp or whatever your like.
      ),
    );
  }
}
5. That's it
After reloading your Flutter app, you should already start seeing some data in the Analytics tab. In rare instances, it may take up to 60 seconds for the first data to appear. If it takes longer, try refreshing the page. Should you need assistance or encounter a bug, please visit our GitHub issues page.
Next steps
You've successfully integrated Wiredash into your app! Now, it's time to explore all the features Wiredash has to offer. For detailed instructions on enabling features such as Feedback, Promoter Score or Custom Events, please refer to our other guides.